Integrating with Garoon Scheduler
By using the Garoon Scheduler Connector plug-in, you can link Garoon appointments with kintone records.
If you integrate Garoon Scheduler with kintone, you can use the following features:
-
Retrieve information from a kintone app when registering an appointment in Garoon
-
List Garoon appointments associated with the record on the Record details screen in kintone
-
Register a Garoon appointment from kintone, which is linked to a record
Notes
For notes on integrating kintone with Garoon Scheduler, refer to the following page as well.
Limitations (Garoon Administrator Help)
Requirements for setting up the connector
-
kintone and Garoon are used in the same domain
If you are not yet using both kintone and Garoon, sign up for a trial or subscribe to the product(s) you need. -
You are on a free trial of kintone or are subscribed to a plan that supports plug-ins.
Note that the kintone Light plan does not support plug-ins.
Requirements for using the connector
-
Users can use both kintone and Garoon
If any users are not yet able to use both kintone and Garoon, they need to be allowed to use both services by a cybozu.com administrator.
For the steps to grant permissions to use services, refer to the following page.
Permission to use services -
Users are using kintone on a PC.
If users use kintone on a mobile device, they cannot use the integration with Garoon Scheduler.
Overview of the steps to set up Garoon Integration
To configure the integration with Garoon Scheduler, follow the steps below.
The following sections describe the details of each step.
Installing the Garoon Scheduler Connector plug-in
Install the Garoon Scheduler Connector plug-in on the Plug-ins screen in kintone administration.
To install the plug-in, you need to have kintone administrative permission.
For detailed instructions on how to install the plug-in, refer to the following page.
Adding plug-ins from the Plug-in marketplace
Preparing your app
To display a list of Garoon appointments associated with the app's records, place a Blank space field on the form of the app linked to Garoon Scheduler. You can optionally place other fields on the form.
Note that you need to have app management permission to configure the form.
-
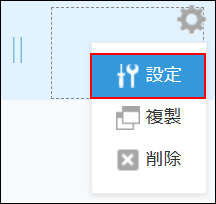
Click the App settings icon (the gear-shaped icon) at the upper right of the View screen.

-
On the form settings screen, place a Blank space field where you want to display a list of Garoon appointments that are associated with a record.
For details on the Blank space field, refer to the following page.
Blank space -
Hover over the gear-shaped settings icon at the upper right of the placed Blank space field and click Settings.
-
In the Blank space settings dialog, enter any element ID.
You will use this element ID when configuring plug-ins. For details on element IDs, refer to the following page.
Element ID -
Click Save on the Blank space settings dialog.
-
Click Save form on the upper left side of the screen.
-
Click Update app at the upper right of the screen.
-
On the Update app dialog, click Update app.
Adding the plug-in to the app and configuring its settings
Add the Garoon Scheduler Connector plug-in installed on kintone to your app and configure it.
Note that you need to have app management permission to add and configure plug-ins.
Adding a plug-in
-
Click the App settings icon (the gear-shaped icon) at the upper right of the View screen.
-
Select the App settings tab on the App settings screen, then click Plug-ins under Customization and integration.
-
On the Plug-ins screen, click Add plug-in.
-
On the Add plug-in screen, select the checkbox for the Garoon Scheduler Connector plug-in, then click Add at the bottom right of the screen.

-
Click App settings in the message displayed at the top of the screen, or click Back to app settings at the bottom left of the screen.
Next, configure the Garoon Scheduler Connector plug-in.
Configuring plug-ins
-
Select the App settings tab on the App settings screen, then click Plug-ins under Customization and integration.
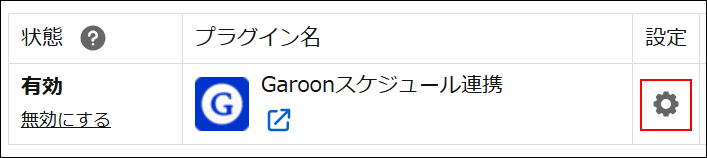
-
Click the gear-shaped Plug-in settings icon to the right of Garoon Scheduler Connector.
-
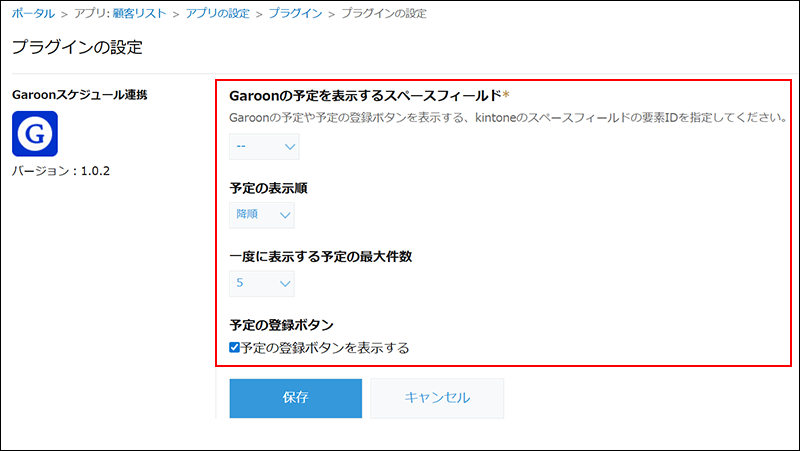
On the Plug-in settings screen, configure the settings.
- Blank space field to display Garoon appointments
Select the element ID of the Blank space field placed on the app form. - Display Order of Appointments
Select Ascending or Descending for the display order of appointments. Appointments will be displayed in the selected order, based on their start date and time. - Max Number of Appointments to Display at a Time
Select the maximum number of Garoon appointments to display on records in the linked apps. - Show the New Appointment button
When this option is selected, a button to add a new appointment in Garoon related to the record is displayed.
- Blank space field to display Garoon appointments
-
設定内容を確認し、[保存]をクリックします。
-
Go back to the App settings screen and click Update app at the upper right of the screen.
-
On the confirmation dialog, click Update app.
The settings of the plug-in will be applied to the app.
Setting up the kintone integration in Garoon
A Garoon administrator configures the kintone integration in Garoon.
For details, refer to the following page.
Adding Related Item (Garoon Administrator Help)
Using integration with Garoon Scheduler
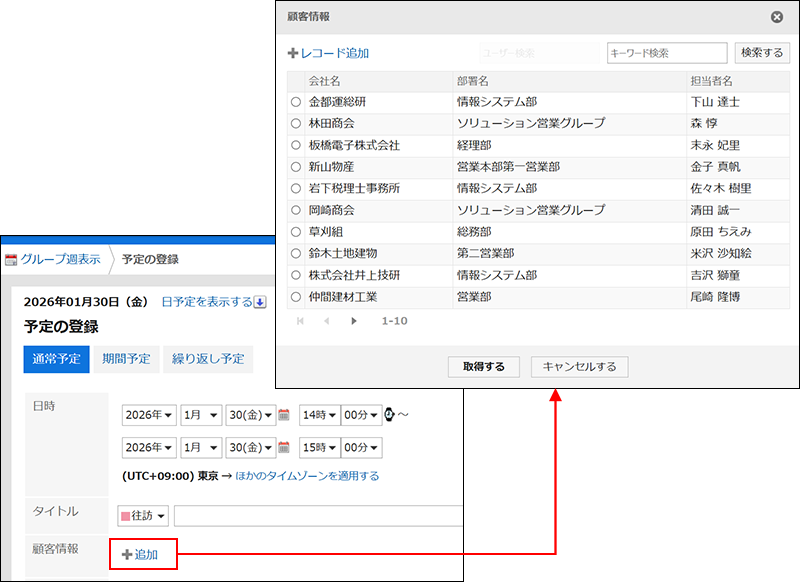
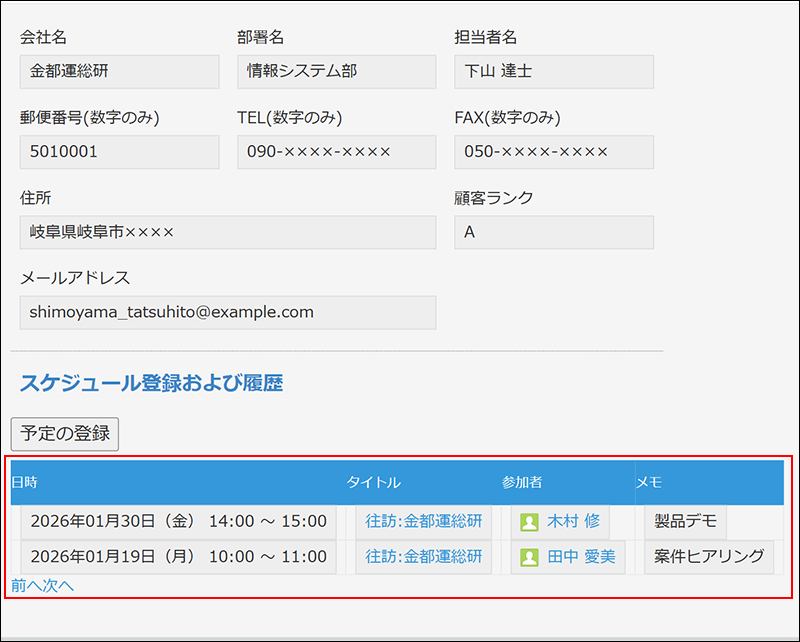
When you create an appointment in Garoon using data from a kintone app, the appointment is automatically linked to the corresponding record in kintone. These linked appointments then appear in a list on the app's Record details screen.
For details, refer to the following page.
Adding an Appointment in Garoon with Information Retrieved from a kintone App (Garoon User Help)
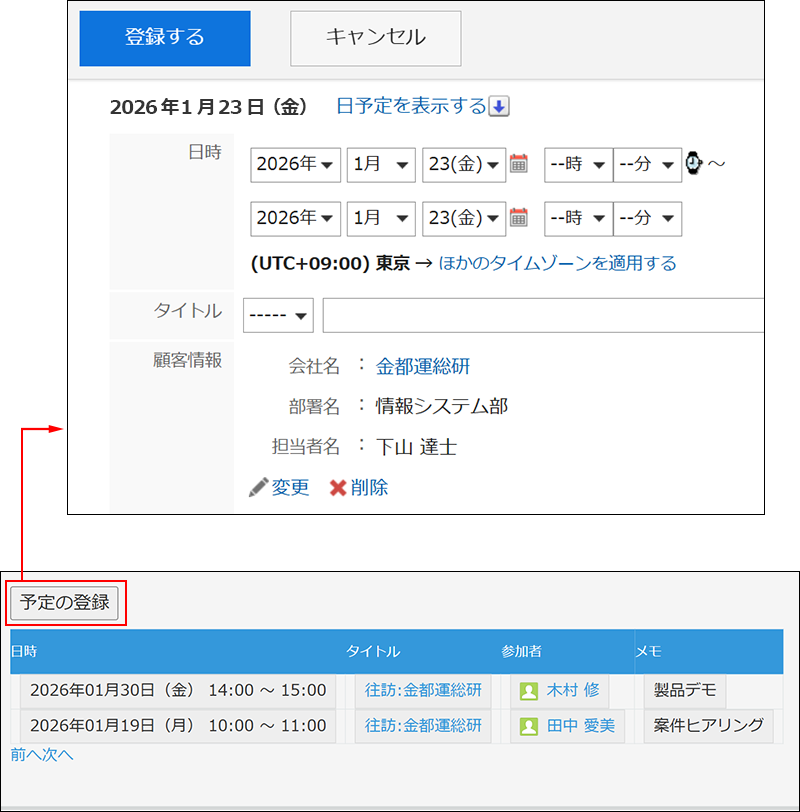
Also, if you have configured the Garoon Scheduler Connector plug-in to display the Add appointment button, you can add a new appointment associated with that record to Garoon from the Record details screen in a kintone app.
For more information, refer to the following page.
Adding an Appointment to Garoon from kintone Screen (Garoon User Help)