Duplicating views
You can create a new view by duplicating an existing one.
Duplicating a view on the "App settings" screen
You can duplicate List, Calendar, and Custom views.
You cannot duplicate the
(All fields) and (Assigned to me) views.
To duplicate a view, you need the management permission for the app.
To duplicate a view in
Customization, you need the management permission for the app and also the kintone administrative permission.
Steps
To duplicate a view on the App settings screen, complete the following steps.
-
Click the App settings icon (the gear-shaped icon) at the upper right of the View screen.

-
On the App settings screen, click the Views tab.
-
Select a view to duplicate and click Duplicate.
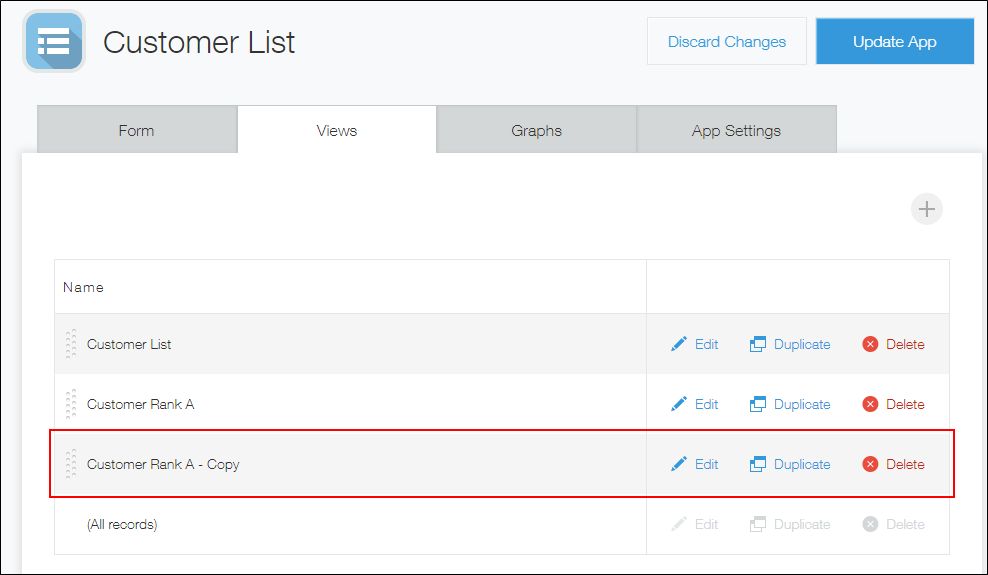
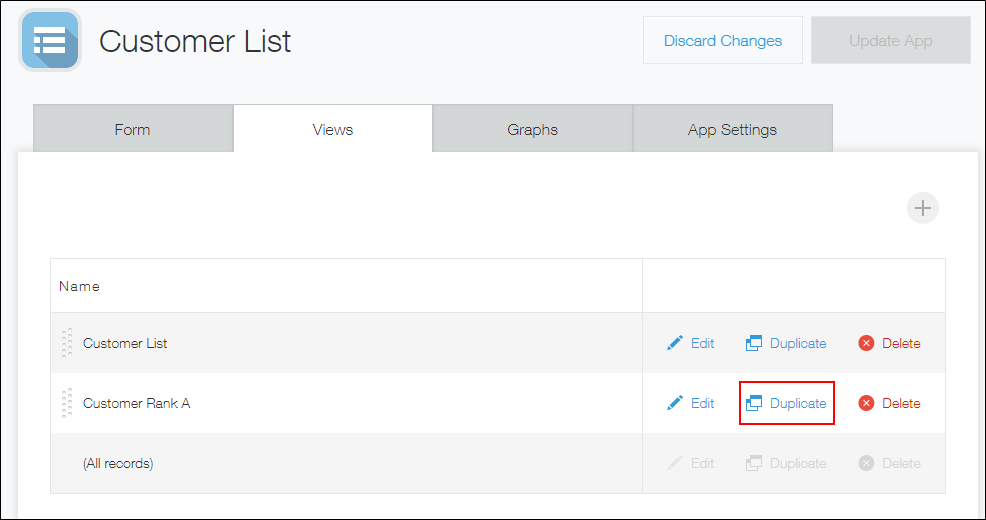 Clicking [Duplicate] creates a new view with the original name followed by "- Copy".
 -
Click Edit to change the view name or filter.
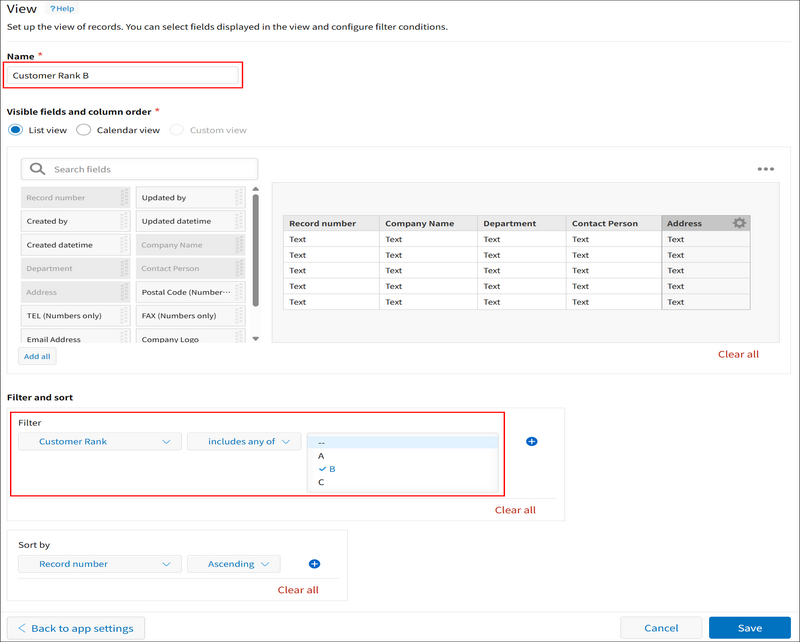
The settings for the duplicated view can be modified on the View screen. In this example, change the view name to "Customer Rank B" and the filter to "B". Complete your changes and then click Save in the upper left.
-
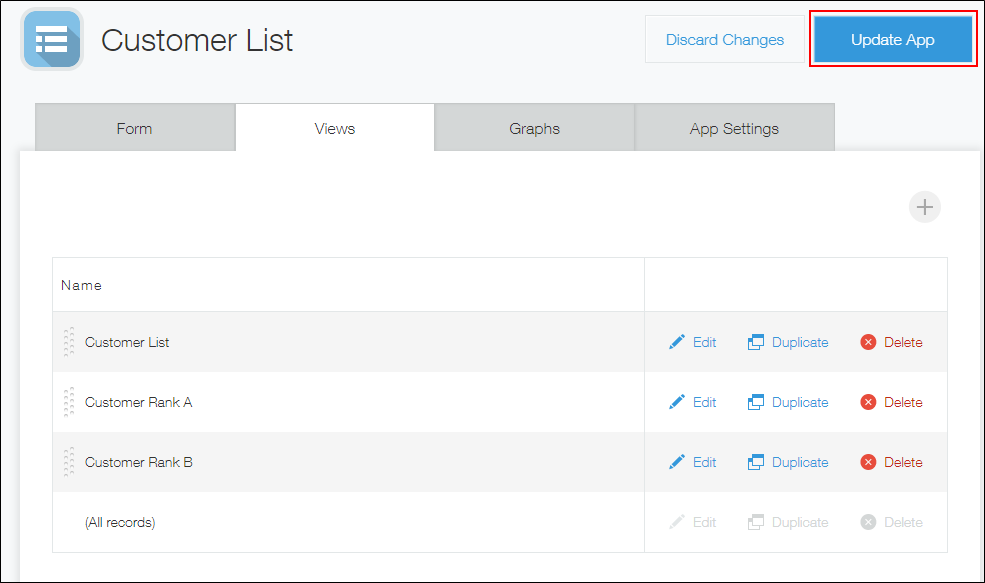
On the App settings screen, click Update app.
-
On the Update app dialog, click Update app.
Reusing a view to create a new copy on the "View" screen
In addition to the App settings screen described above, the View screen also allows you to reuse (copy) an existing view to create a new view.
The View screen allows you to reuse List and Calendar views.
Reusing views requires management permissions for the app.
Steps
This section describes how to use the View screen to select a view, change the filter, and save the view as a new one.
-
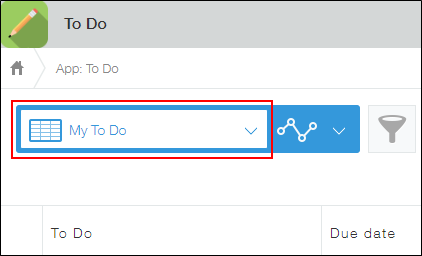
On the View screen of the app, select a view you want to copy from the list of views.
-
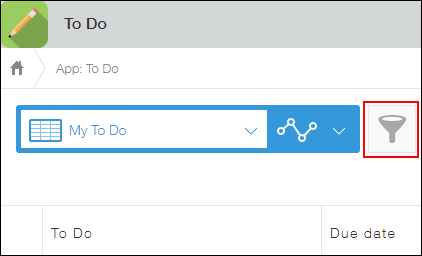
Click the Filter icon.
-
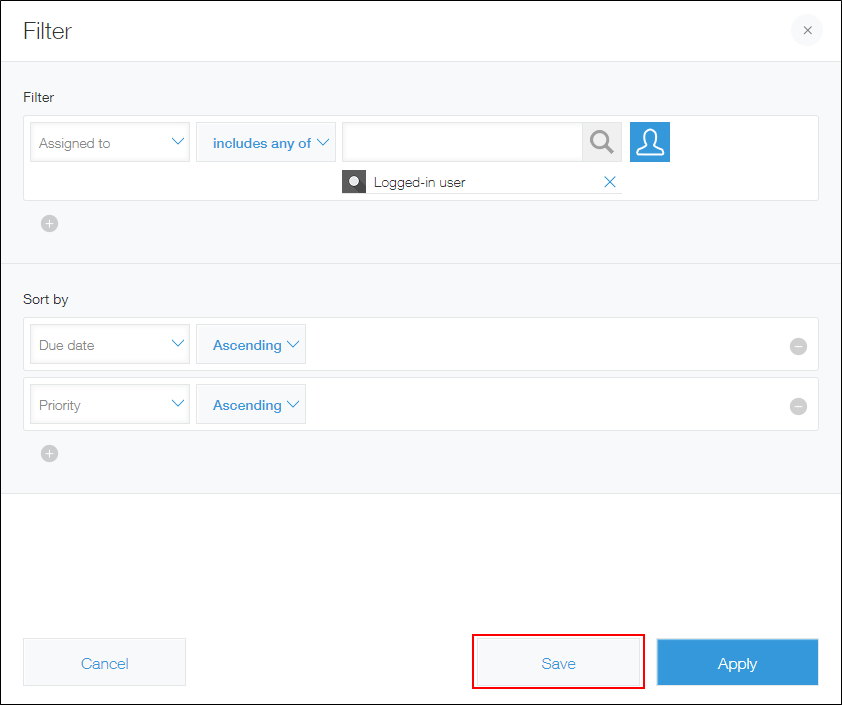
On the Filter dialog, change the filter conditions as necessary and click Save.
-
Enter the view name and then click OK.